
Professional Field Guidelines
Conducting DIT
What is DIT?
DIT stands for Digital Imaging Technician. On set, your job is to copy and back up all footage safely and systematically so that nothing is ever lost after a shoot.
This is one of the most critical roles on any production. Handle it with care.

Equipment Checklist
- A Laptop and Charger
- 2 hard drives (Main and Backup)
- Memory card reader
- Power Extension cable
- DIT equipment bag
How to Copy Files on Set
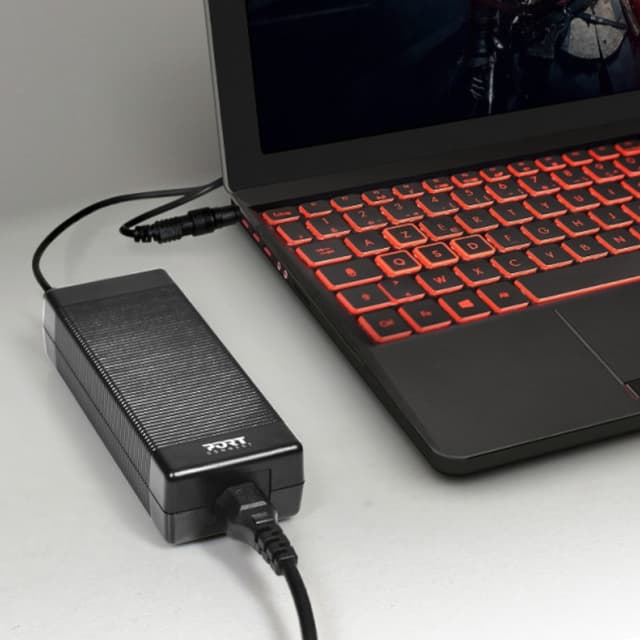
Confirm that your laptop is on and connected to a power source.
Create a folder on one of the hard drives and name it according to the project.

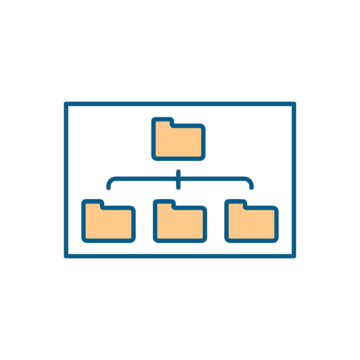
Create sub-folders inside (e.g. Video, Audio, Photos as instructed by the project brief).
Be gentle when inserting the memory card into the reader so as not to damage the card.
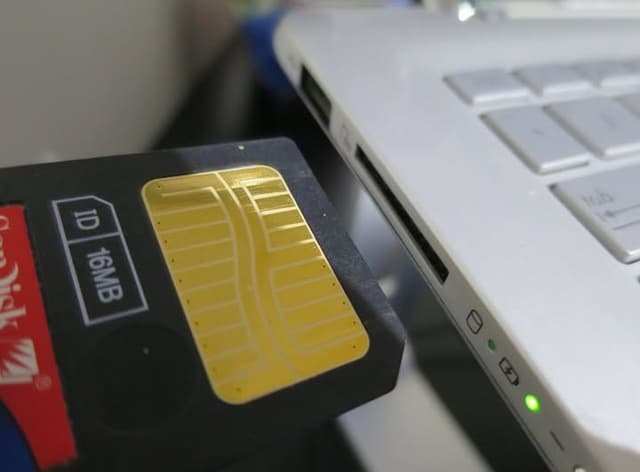
After connecting the card to the laptop, copy the files from the card to your DIT hard drive. Never cut and paste footage. Only format cards using the camera, not a computer.

After copying, compare the size of the original footage on the card with the size on the DIT hard drive. If they do not match, start the process again.
Safely eject the main DIT hard drive from the laptop.
Insert the Backup DIT hard drive and repeat the entire copying process, copying from the original memory card again.
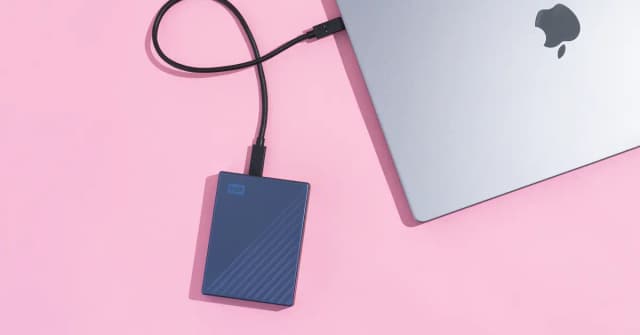
After both drives are backed up, leave a copy of the main hard drive with the Project Manager before you leave set.
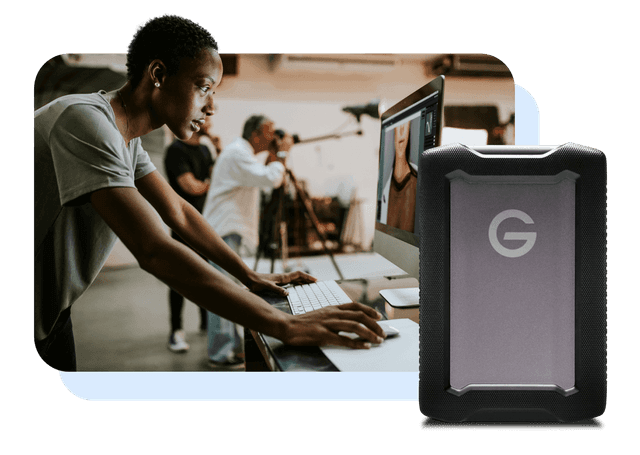
Upload the footage to the cloud using the upload link provided by your Project Manager (if your team uses VDEOPRO, they will send a secure remote upload link).

After uploading, contact the Post Production team to confirm that all uploads are live and complete.
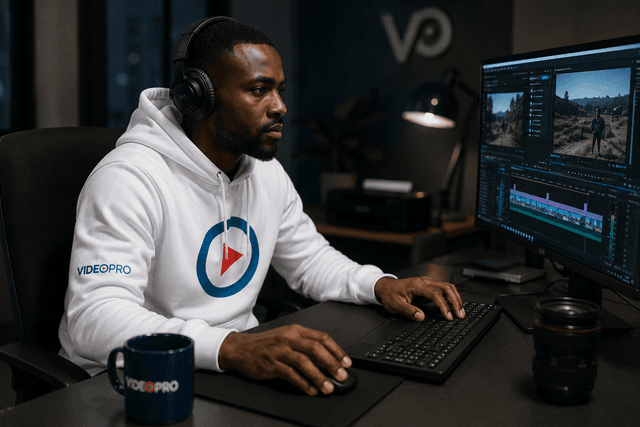
How to Upload Using the Cloud Link
- 1.Open the upload link sent to you by the Project Manager.
- 2.Select the folder that matches your shoot date and project name.
- 3.Drag and drop your files or use the upload button to select them.
- 4.Wait for the upload to complete. Do not close the browser or disconnect from the internet during upload.
- 5.Once done, copy the confirmation or take a screenshot and send it to the Post Production contact.
- 6.If your team uses VDEOPRO, the system will automatically notify your post-production team and the footage will be available in the Media Dashboard.